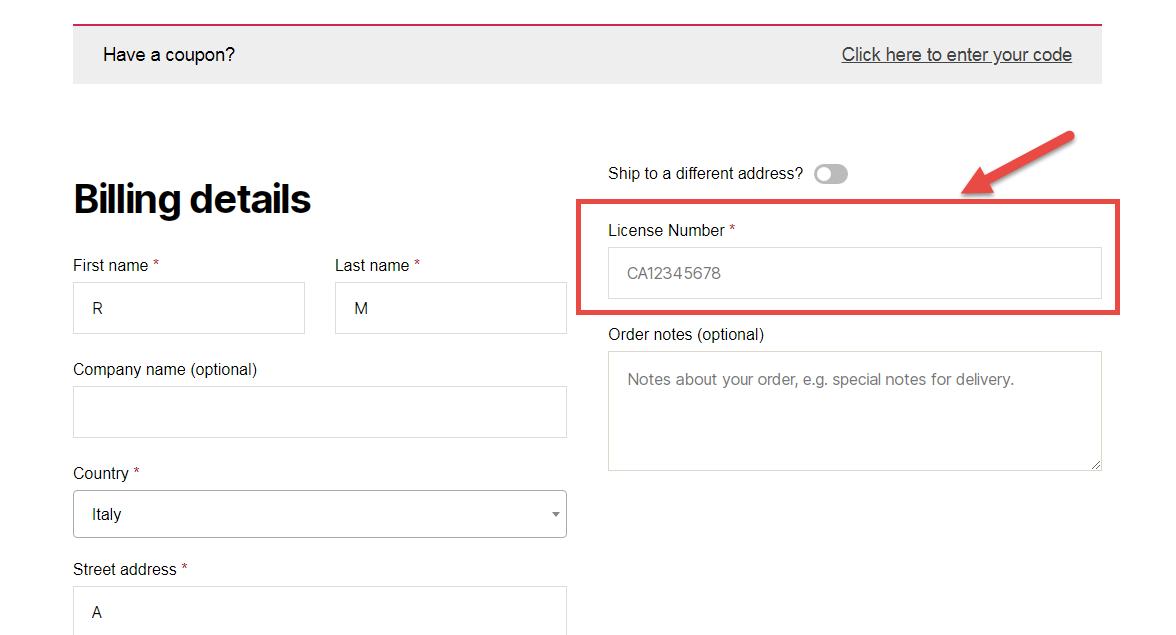
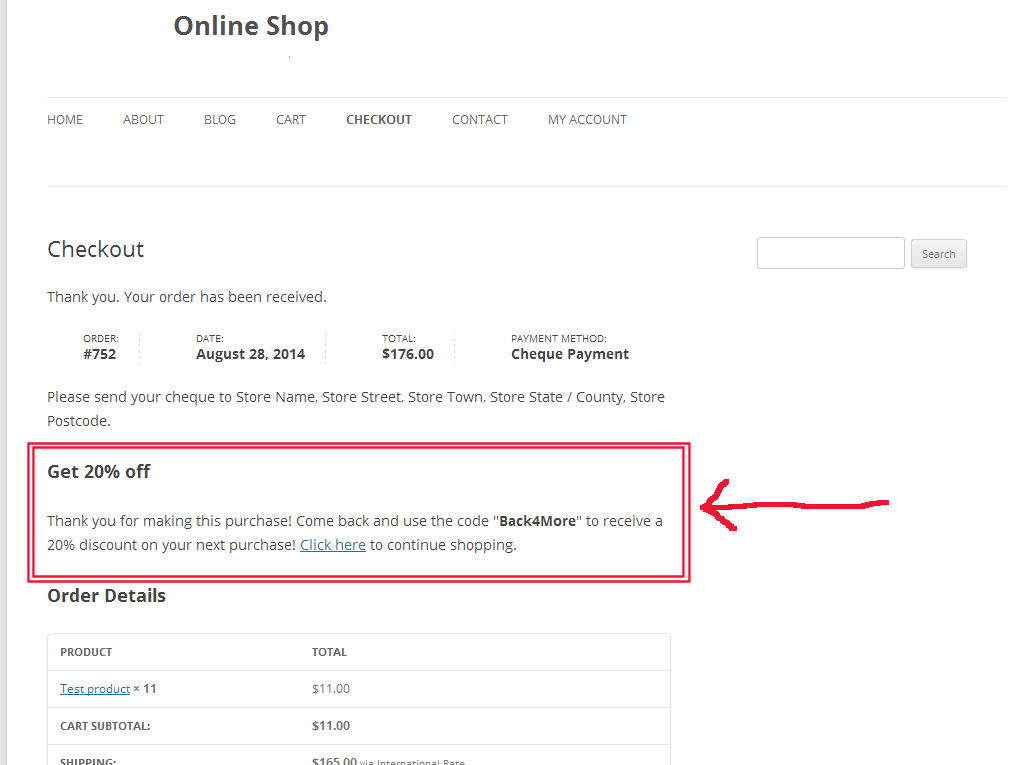
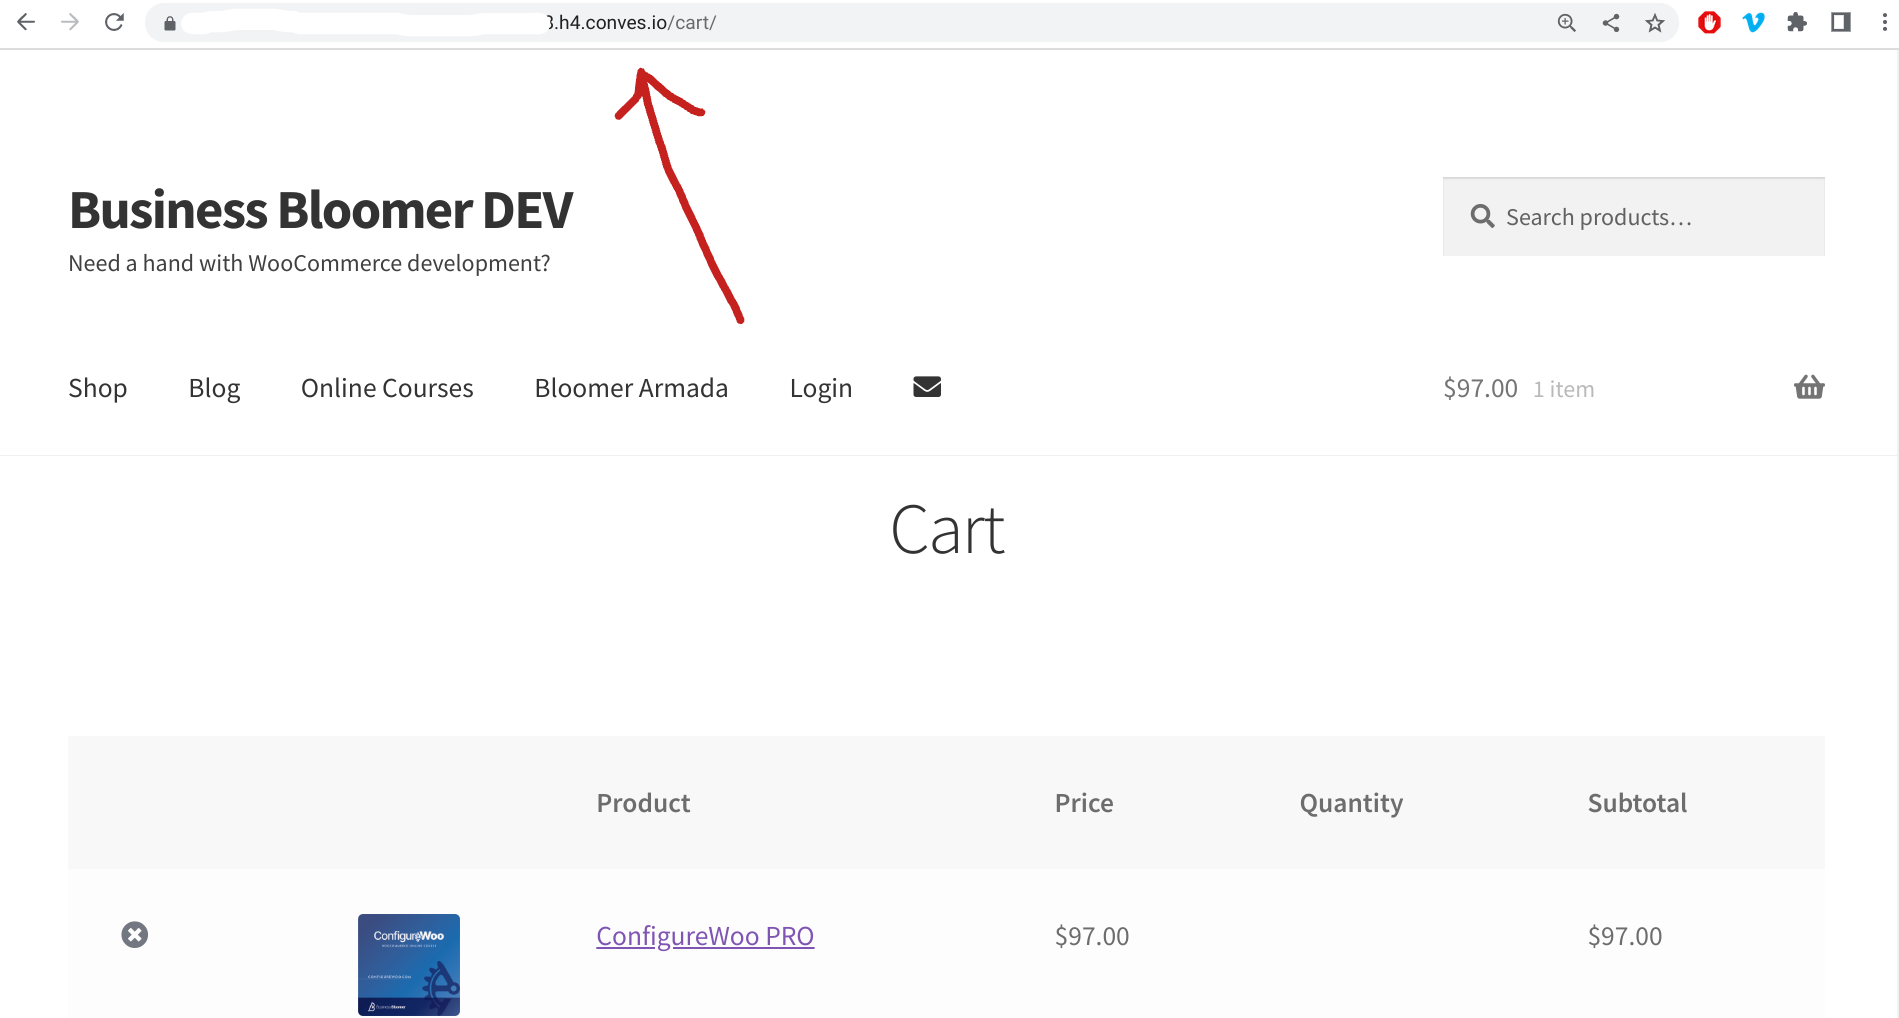
WooCommerce: Automatically Add Tag To Purchased Products

This functionality can be helpful to those who need to differentiate purchased products from non-purchased ones. Think about a way to automatically discount non-tagged products, in order to entice more sales; or a function that only shows purchased products via a custom shortcode.

No matter the application, “tagging” products upon purchase is super easy. Of course, make sure to create a custom product tag first, and get its ID, so that you can use this in the code below. Enjoy!

Continue reading WooCommerce: Automatically Add Tag To Purchased Products

WooCommerce Subscriptions: Display Start-End Dates @ Cart & Checkout

Interestingly enough, when you add a subscription product to the cart, there is no renewal date information unless you scroll to the very bottom and are able to read the very small text below the “recurring total” (see screenshot).

It would be way more helpful if dates (and specifically the WooCommerce subscription start date and end date) showed right under the product name inside the Cart table and in the Checkout page order review, so that the customer knows exactly what they are purchasing before having to figure that out.

So, here’s how it’s done. Enjoy!

Continue reading WooCommerce Subscriptions: Display Start-End Dates @ Cart & Checkout

WooCommerce: Automatically Register Guest Checkouts

A disclaimer first: please make sure this is legal in your country and also that your checkout visitors are aware they will become registered customers without explicit consent (i.e. without ticking a “create an account on this site” checkbox).

So, yeah, there is a way to turn guest checkouts into registered customer ones. Also, there is a neat WooCommerce function to bulk add all past guest orders to a new customer (wc_update_new_customer_past_orders).

Of course, “Allow customers to place orders without an account” must be enabled in your WooCommerce settings, otherwise you’re not allowing guest checkouts and the snippet will be irrelevant.

So, here’s the fix. Enjoy!

Continue reading WooCommerce: Automatically Register Guest Checkouts

WooCommerce: View Thank You Page @ Order Admin

I’ve been testing for over an hour but finally I found a way to make this work. When you are in “Edit Order” view under WordPress Dashboard > WooCommerce > Orders, there is a dropdown of “Order actions”: “Email invoice”, “Resend new order notification”, etc.

A major problem I’ve always had while troubleshooting or working on the WooCommerce thank you page was that I had to build that URL by hand in order to view it again or to avoid placing yet another test order (it follows the format e.g. https://example.com/checkout/order-received/214008/?key=wc_order_aHB6YrmLOZIKP).

Well, from today, you can access that order thank you page URL directly from the “Order actions” dropdown. Enjoy!

Continue reading WooCommerce: View Thank You Page @ Order Admin

WooCommerce: How to Create Custom Logs

Logs or log files are a must for WooCommerce developers and store managers. Log files are basically an automatically generated collection of events that happen on a given store, based on certain logging criteria. For example, WooCommerce already creates a “fatal error” log for you, that you can easily access and read within the WordPress dashboard (WooCommerce > Status > Logs).

If you’re familiar with WordPress troubleshooting, you will know how important the debug.log file is while trying to identify website weaknesses, PHP errors or white screen of death. Well, today I’m going to teach you how to create your own log, so that you can record whatever event happens on your WooCommerce website and easily check the logs for troubleshooting purposes.

Specifically, I’ll show you how to create a log every time there is a customer failed order and every time there is a product price change made by the admin. Easy peasy – enjoy!

Continue reading WooCommerce: How to Create Custom Logs

WooCommerce: Display Product Up-sells @ Thank You Page

One of the most important WooCommerce pages, conversion-wise, is the Thank You page. That’s your chance to offer something special to a user that has just turned into a customer and is therefore more likely to purchase again.

We’ve seen how to include a whole WordPress page inside the Thank You page, how to redirect customers to a different Thank You page URL, how to display a custom social media share box on the Thank You page, but in this article I want to expand a little more on the topic and show a list of purchasable products via a shortcode.

The thing is that the Thank You page “does not exist” inside the WordPress pages, so you can’t just add a shortcode in a page. We must do that via a PHP action hook and the do_shortcode() WordPress function. Enjoy!

Continue reading WooCommerce: Display Product Up-sells @ Thank You Page

WooCommerce: Show SKU @ Cart, Checkout, Order & Emails

When SKU matters to the end user, displaying it in the Cart page, Checkout page, Thank you page, My Account View Order page and Order Emails under the item name is a must.

Ideal for B2B businesses and international brands, this simple customization can help you learn how to add any sort of content under the Cart/Checkout/Order item names. Simply use the same hook and try “getting” something different than SKU with this guide. Enjoy!

Continue reading WooCommerce: Show SKU @ Cart, Checkout, Order & Emails

WooCommerce: Include Custom WP Page @ Thank You Page

Yes, you can redirect users to a custom thank you page (but please note all your ecommerce Google Analytics tracking will be skipped…). Yes, you can add content to the default thank you page, for example a Twitter “share your purchase” box. And yes, you can even “include” content from another WordPress page!

Basically, in this article, you will see how to write custom content for your WooCommerce Thank You page as a separate WordPress Page, so that you can use WYSIWYG, Gutenberg or a page builder to create something unique, and then ask WooCommerce to “get it” and “include” such page inside the default order-received endpoint.

If you’re not sure what I mean, try taking a look at the two screenshots below. Then, copy the simple snippet and see the result!

Continue reading WooCommerce: Include Custom WP Page @ Thank You Page

WooCommerce: 10 Easy Snippets to Increase Your Sales

I had the pleasure to speak at WordCamp Prague 2019. I spoke about “10 PHP Snippets to Increase WooCommerce Sales” and managed to show some simple coding to the audience. Trust me – increasing your WooCommerce sales can also be done with a free, short, easy PHP snippet.

So, given that I want to share all the snippets I talked about, this is a quick recap. Copy them, test them (a must!) and then use them. And let me know if your conversion rate and/or AOV (average order value) increased!

At the bottom of the page you also find my talk slides. Enjoy:)

Continue reading WooCommerce: 10 Easy Snippets to Increase Your Sales

WooCommerce: Disable Tracking if Order Failed @ Thank You Page

The “woocommerce_thankyouhook fires on the Thank You page once an order is placed. Most tracking functions like Google Analytics, affiliate commission plugins and other WooCommerce extensions rely on “woocommerce_thankyou” to run their code.

Problem is – “woocommerce_thankyou” is ALSO called if an order fails (i.e. payment did not go through). Now, unless the plugin is smart enough in its own functions to exclude failed orders, which doesn’t happen often I’m afraid, we need to find a way NOT to run “woocommerce_thankyou” if an order fails. Case study: a client uses a third party affiliate plugin, this plugin hooks into “woocommerce_thankyou“, but they don’t want to calculate conversions when an order fails.

So here you go!

Continue reading WooCommerce: Disable Tracking if Order Failed @ Thank You Page

WooCommerce: “Share your Purchase on Twitter” @ Thank You Page

Boom! I was thinking of a way to show a “Share your Purchase on Social Media” on my thank you page right after someone becomes an official supporter. So, I spent some time coding and – as always – now I’m going to spend some more time to share my hard work!

Leave a comment below if this was helpful – and if you want to test this out, you’re very welcome to become an official Business Bloomer fan of course 🙂 Continue reading WooCommerce: “Share your Purchase on Twitter” @ Thank You Page

WooCommerce: How to Add a Custom Checkout Field

Let’s imagine you want to add a custom checkout field (and not an additional billing or shipping field) on the WooCommerce Checkout page. For example, it might be a customer licence number – this has got nothing to do with billing and nothing to do with shipping.

Ideally, this custom field could show above the Checkout page order notes – right after the shipping form. It will feature a label, an input field, and will be required.

So, here’s how you do it – hope it helps you understand that anything is possible with WooCommerce!

Continue reading WooCommerce: How to Add a Custom Checkout Field

WooCommerce: Redirect to Custom Thank you Page

How can you redirect customers to a beautifully looking, custom, thank you page?

Thankfully you can add some PHP code to your functions.php or install a simple plugin and define a redirect to a custom WordPress page (as opposed to the default order-received endpoint). This is a great way for you to add specific up-sells, social media share and other information that could help you convert additional sales. 

Continue reading WooCommerce: Redirect to Custom Thank you Page