
This is a guest post by Simon Tomkins of CommerceGurus – if you like the article, make sure to thank him in the comments!
The speed of your WooCommerce store is incredibly important when it comes to converting visitors into customers. Research has shown that even a one second delay can result in 7% of lost orders.
If your WooCommerce site is making $1,000 per day, that one second delay in load time could potentially cost you $25,000 in annual lost sales – not small change! If you are the lucky owner of Amazon, a one second delay in 2017 could have meant a $178 billions * 0,07 = $12.5 billions loss in net revenue…
Once again, a slow WooCommerce website is costing you money.
I spent a great deal of time researching website speed and performance optimization before creating our Shoptimizer WooCommerce theme. Some of the statistics are staggering:
- 73% of mobile users have abandoned a site due to it taking too long
- 47% of people expect a site to load in 2 seconds or less
- 79% of people who encounter a performance issue won’t return again to buy
So, a slow WooCommerce site means unhappy visitors and the loss of potential revenue to competitors.
And today we’ll briefly see what you can do to speed up your WooCommerce website – these are proven performance optimization tricks that can have an immediate impact on your sales conversion rate 🙂
1) Review your current hosting platform
I don’t go into the topic of hosting in huge detail as it should be obvious that a properly WooCommerce optimized host makes a huge difference to loading speeds.
As a basic rule, you should stay away from any shared hosting which can struggle with the demands of WooCommerce.
LiquidWeb, Kinsta, and WPEngine are major players in the eCommerce arena and are all good choices for managed hosting. A popular alternative is SiteGround (Business Bloomer used to run on SG). I’d recommend their Cloud or dedicated hosting solutions. They will also migrate your existing site to their platform for free with certain plans, which is a huge time saver.
2) Audit the speed of your WooCommerce store
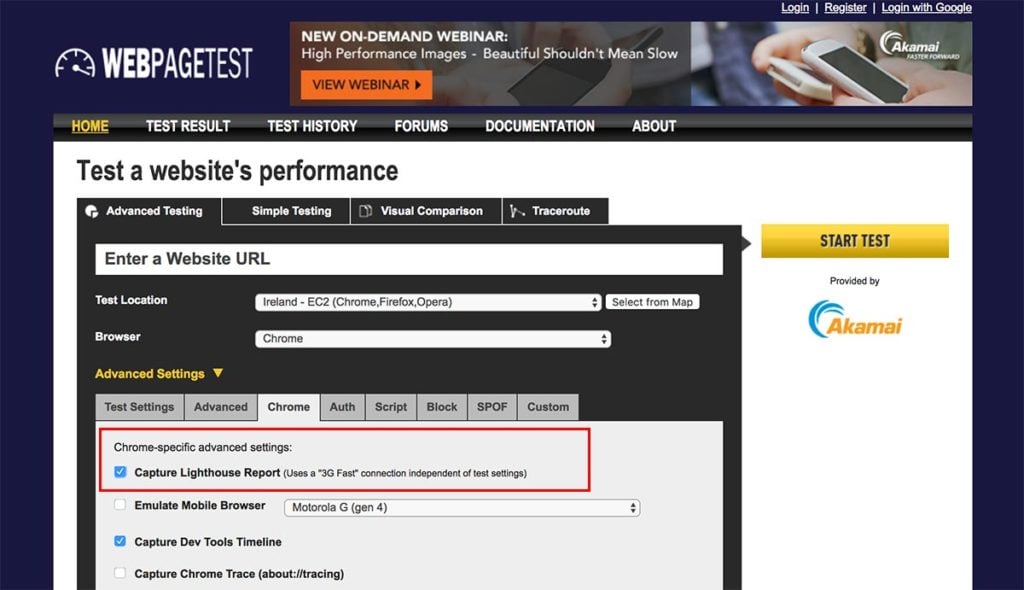
It’s an important first step to first evaluate your current store’s loading speed. Many people use Google Page Speed for this but I prefer WebPageTest.
There’s a little trick to this. Go to the Advanced > Chrome tab and ensure that Capture Lighthouse Report is also ticked. Lighthouse is a new tool from Google designed to improve the quality of web pages. It will summarize speed, accessibility and progressive web app performance amongst other areas and provides an excellent report with real actionable steps.
The report provided will look something like the screenshot below. I ran it using our Shoptimizer WooCommerce theme homepage as an example.

The First Byte time is the length of time it takes from when a client makes a request to it receiving its first byte of data from the web server.
The Start Render time reflects the speed at which the first element appears on a page. This can be a background color, a text block or anything else. A fast load at this point provides a strong indication to the user that the page is rendering and that the rest of the content will soon appear.
3) Minify your code
The number of assets loaded on a page greatly impacts on your performance score. The more files loaded, the more return trips the server needs to make, slowing down the loading speed.
One excellent solution to this problem is the Autoptimize plugin, available for free on the WordPress repository. You’ll find it by searching for Autoptimize within Plugins > Add New. This is perfect for simplifying the optimization of your WooCommerce site.
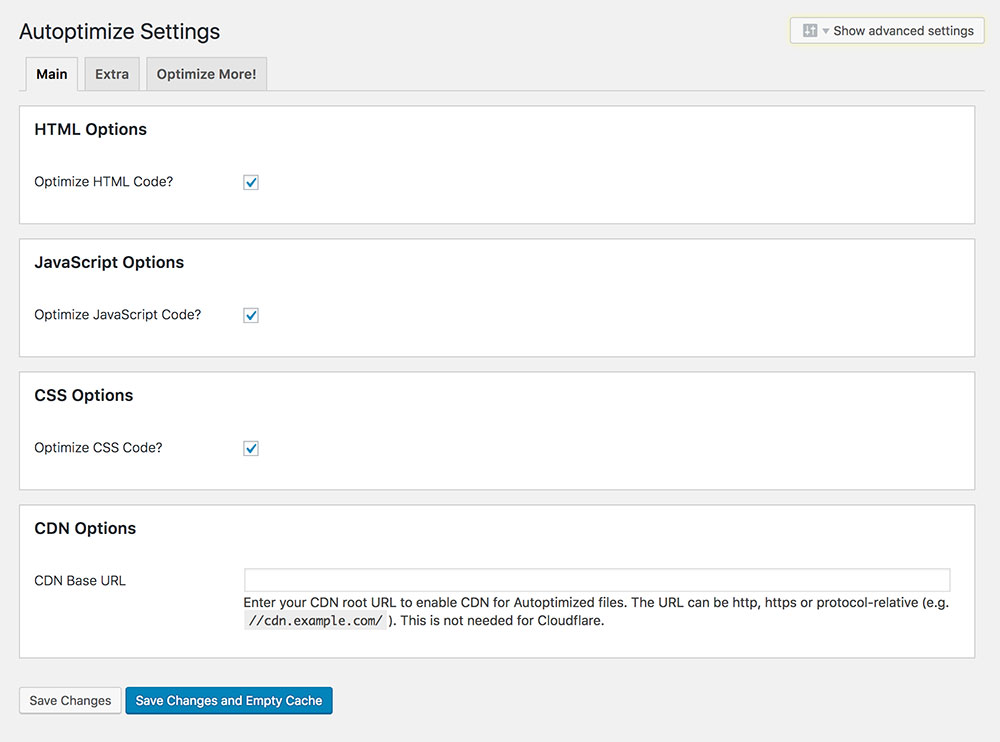
The key task it performs is aggregation – or combining multiple files into one so that the visitor’s browser has fewer files to download. It then minifies this combined file, removing any white space and unneeded content such as comments, making it much smaller and faster to download.
It finally caches the HTML, CSS, and JavaScript to create optimized versions of what was there before. It’s a website on a diet.
4) Optimize your images
You should optimize your WooCommerce images before uploading them to your WordPress website and also once they are loaded and used in a blog post, WooCommerce product or WordPress page. Here are three steps required to dramatically increase image loading speed.
a) Prepare your images before uploading them to WordPress
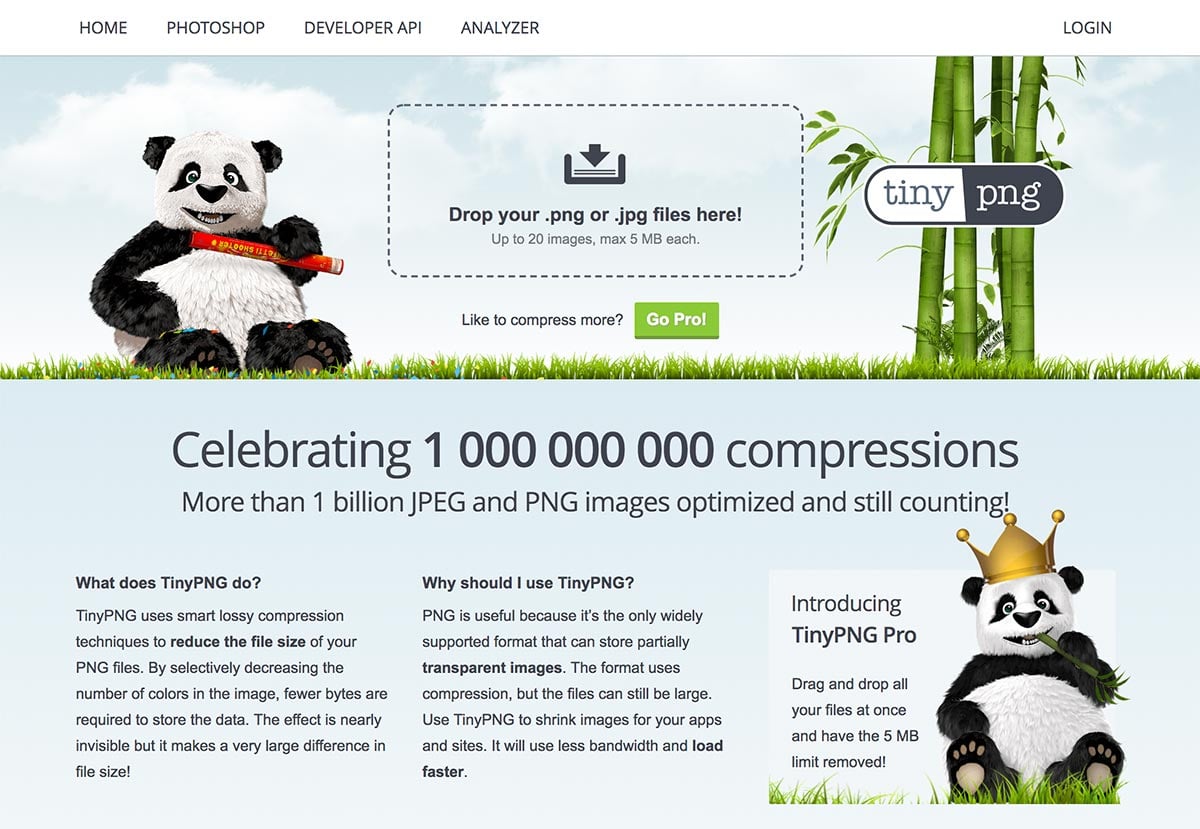
An online image optimization tool will make dramatic size reductions to images. There are dozens out there including Optimizilla, I Love IMG and Compressor but I’m a fan of TinyPNG.
You should get quite a reduction straight away using a tool like this so it’s a matter of getting into a habit of using it before adding any new images to your store.
b) Ensure sensible default image sizes are set
I’ve seen many people download and upload images from a site such as the excellent Unsplash without thinking about the size or weight.
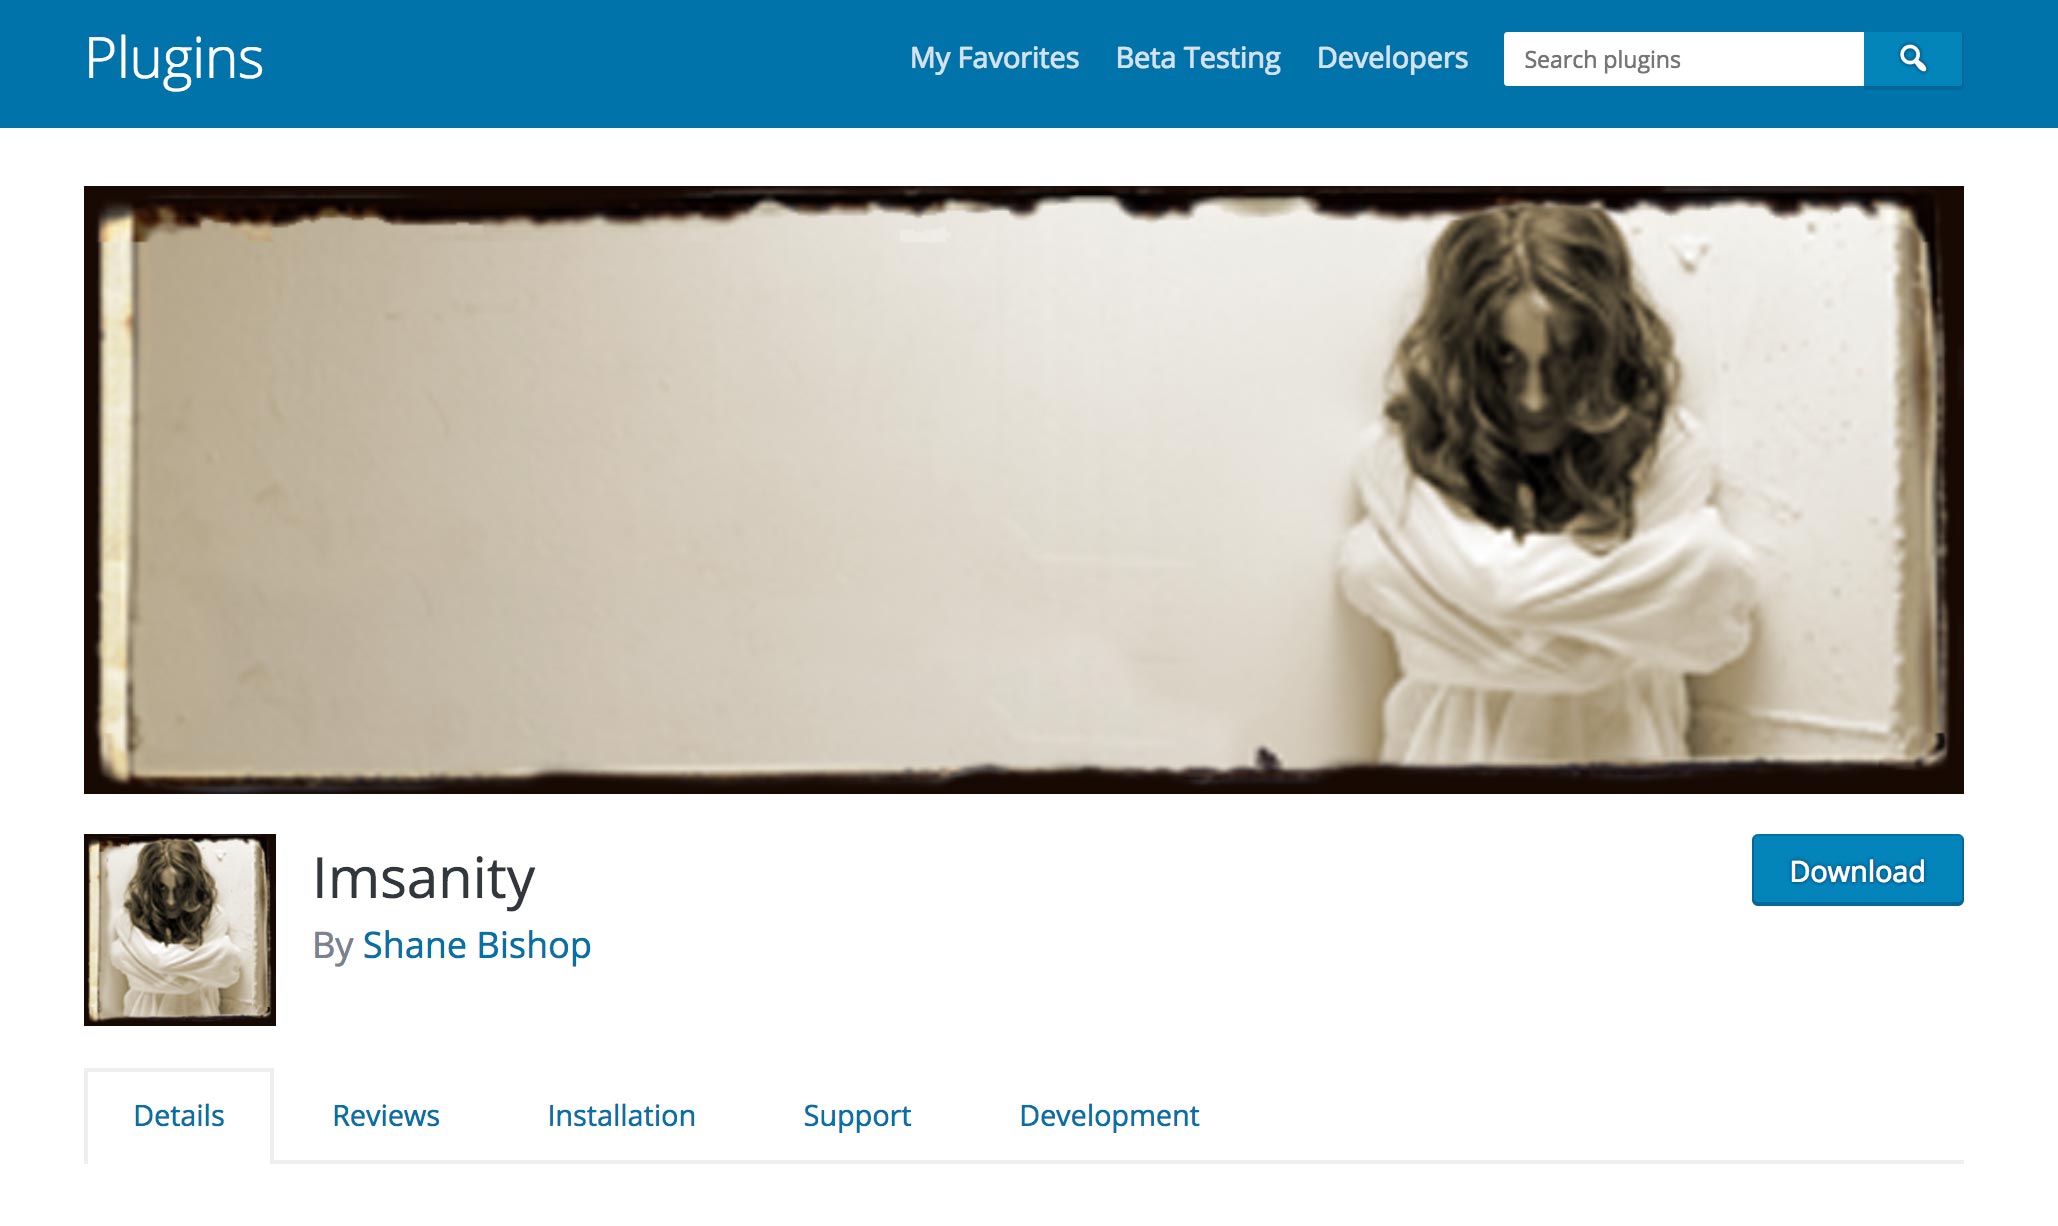
The next recommendation I have is to use the Imsanity plugin to ensure that sensible maximums are selected. There is no need for a 3000px wide image on any site and this plugin ensures that an image is automatically reduced to its configured size. You can install it via Plugins > Add New and search for Imsanity. Within its settings section, you can configure maximum sizes. A maximum image width of 1200px would be suitable for the vast majority of sites.
c) Use a CDN and a Lazy Loader
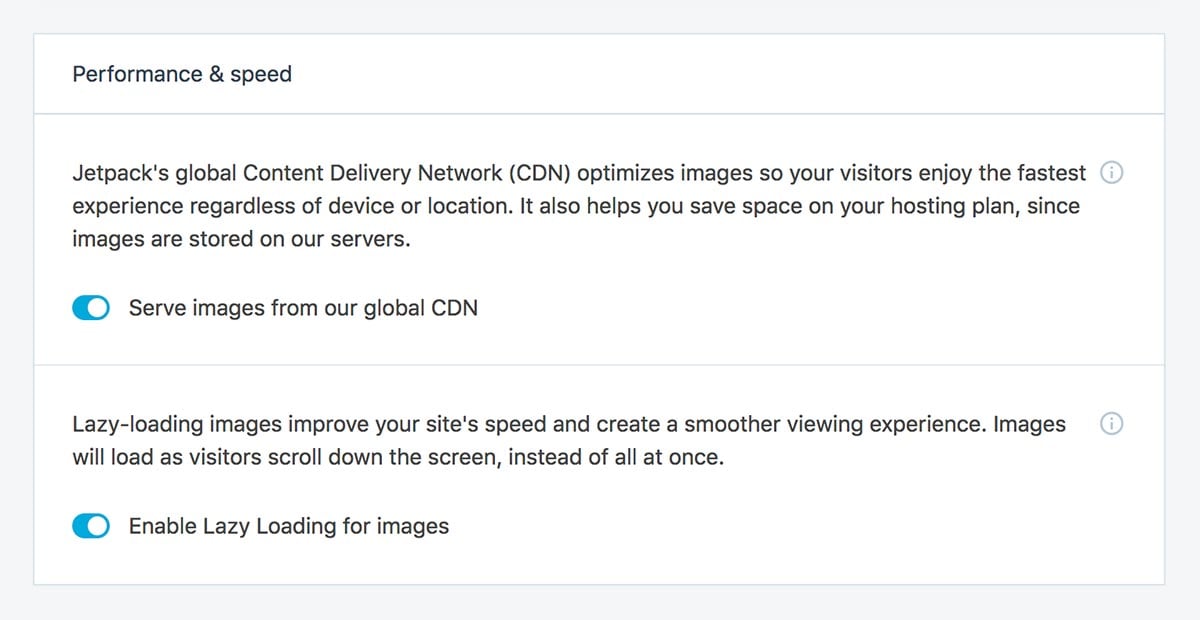
There are a lot of myths about Jetpack, but I find if you are careful about what modules you activate and don’t just switch on every feature it can work extremely well.
If you haven’t already got it installed you can add it via Plugins > Add New and search for Jetpack. You’ll need to register for a WordPress.com account if you don’t have one already. Once you get to the Jetpack configuration screen make sure you select the Free plan.
Within its settings screen, you can turn on its two best features. “Serve images from our global CDN” and “Enable Lazy Loading for images“.
Using a CDN will ensure that the images are served from Jetpack’s server instead of your own. It looks at the image dimensions and returns a version of image sized precisely to fit – which will be far smaller in size.
Tip: If you’re replacing an image you’ll need to use a new file name as once Jetpack’s CDN caches an image there is no way to clear it and fetch the new version.
Lazy loading is of key importance when it comes to website speed because with it enabled, images will only load when they appear within the browser’s viewport. Images which are never visible will not be loaded. This results in a significant saving of bandwidth and reduction in load time.
5) Switch to a performance-optimized WooCommerce theme

Choosing a theme optimized for speed is the essential final component of a fast WooCommerce store. So-called “multi-purpose” themes are rarely fit for purpose and often end up loading dozens of JavaScript files, unnecessary plugins, fonts and CSS which will destroy loading speeds.
Many “WooCommerce-ready” themes also use their own WooCommerce template overrides (just take a look at your current theme files – is there a /woocommerce folder with many template files in it?), which can have an unfortunate tendency to break your website when the WooCommerce plugin is updated.
So, which theme should you go for?
The gold standard has always been the official theme from WooCommerce, Storefront. I also like GeneratePress and Astra.
On my end, here at Commercegurus I wanted to create a theme which has the code quality of Storefront but is a little more aesthetically pleasing and optimized for speed and sales conversions.
We managed to get the loading speed to a very good level (as seen in the WebPage screenshot above). I also wanted to add quite a number of additional conversion features – a fast theme that converts more visitors into buyers is the goal. The result is Shoptimizer – details and access to demo site are here.
Conclusion
A fast loading WooCommerce store ensures you will have better conversions and SEO. You’ll have less abandoned carts and more engaged customers. Staying on top of speed issues is of vital importance for any store owner.
For some of the screenshots, we’re using Shoptimizer – a speed-optimized WooCommerce theme right out of the box. I’d love you to take a look at it and let me know what you think in the comments 🙂
Finally, here’s a detailed video on how to make a really FAST WooCommerce website, step by step. Enjoy!


Shoptimizer ? one of my wishlist theme to purchase ? but since my site (food gorcery store) is running already, i think i need the developer to have other option of layout content, while for now is ready fashion store only.
i think they should have alternative layout/content e.g. for food, farming, electorinics… etc….
i am using Imsanity for image compression. i think it is the best tool for image optimization
Cool
Sometimes, when working with Woo-commerce and a crappy theme, you need to make a lot of changes using via coding. Half of the time I make my changes with CSS and paste them on the “Additional CSS” tab when customizing with WordPress. Of course, this is one of the main reasons why the website becomes painfully slow, Even more, dangerous is because of your fast internet – not checking how fast the site is on mobile can prove a bad move. What I have found works for me is installing the jetpack plug-in and WP Fastest Cache, this allows me to do minify the code, lazyload which then improves the overall speed. Using image optimizers can be tricky since it can result in the site showing blurry/low-quality images. I think it’s a good practice to have your graphic designer or use editing software to optimize the image. I’ll be trying tip #5 and seeing if i can get even better results.
Cool!
Great steps on speeding up a WooCommerce Store. I always enjoyed reading your articles. Thanks for the good read!!
Thanks!
Hi Simon,
That’s true. Great points to improve page speed and ranking in SERP. Wish to read more of your articles.
I’d put topic #5 as FIRST topic. Why? Because a crappy, multipurpose premium theme may work against all other measures, by adding lots of resources, which may be very difficult to reduce or even remove.
This is happening at one of my customers sites, where I’m currently working on porting all relevant parts to a cleaner, speed optimized theme based on _s / underscores. I’ve already implemented numerous optimizations, but its essentially the theme that counteracts them all, by blowing up the overall resource size to very painful dimensons – eg. the rather simple structured home page, which only consists of the navigation, a simple slideshow, a bit of text and an image gallery. Still, the whole page chimes in at about 7 (!) MB.
This is happening thanks to loading ALL Bootstrap resources (no sane on-demand loading was implemented in the theme) and trying to please any kind of slide show and page builder plugin. Thus all resources of eg. Visual Composer get loaded as well .. plus the regular content, which results in blowing everything out of normal, sane proportions.
cu, w0lf.
Hey Wolf – thanks so much for your comment! This is awesome feedback 🙂
Ha… pretty true, but I think they’ve got it correct by having hosting as #1. No amount of tweaking and optimizing can make up for having your site hosted on some cheap shared hosting. I know from experience 😉
One thing I also like to do is use the disable cart fragments plugin on new sites on shared hosting. When the cart fragments is disabled it can increase the total page load time. The downside is that the carts in the menu may not show an updated total. I think using this plugin, even though you may need to redirect to cart on add to cart, is a must have plugin for anyone who can’t afford managed WordPress, VPS or dedicated hosting.
Cloudflare can also be a nice option for those who have coverage under the free or low level pricing plans (edge server option only available here on the business plan).
Thanks for your feedback John!