WooCommerce: Remove “Description” Heading @ Single Product Tabs

When you are on the single product page, and you have a non-empty product long description, a “Description” tab appears below the product images. Unfortunately, not only the tab label is “Description”, but also the tab H2 heading. This sounds and looks horrible, so here’s a way to completely remove it.

Alternatively, you can use this other snippet in order to rename it: https://businessbloomer.com/woocommerce-rename-product-description-single-product-page/ Continue reading WooCommerce: Remove “Description” Heading @ Single Product Tabs

WooCommerce: Send a Custom Email on Order Status Change

If you use custom WooCommerce order statuses, or wish to target an order status transition that is not default (e.g. when order goes from “Processing” to “Completed”, the Completed email triggers – but what if you want to target a transition from “Processing” to “Custom Status”?), sending custom emails is quite complex.

First of all, they won’t show under WooCommerce > Settings > Emails (unless you code it, true) – second, no email will trigger. So, how do they do it?

Continue reading WooCommerce: Send a Custom Email on Order Status Change

WooCommerce: Add to Cart Quantity Plus & Minus Buttons

Here’s a quick snippet you can simply copy/paste or a mini-plugin you can install to show a “+” and a “-” on each side of the quantity number input on the WooCommerce single product page and Cart page.

The custom code comes with a jQuery script as well, as we need to detect whether the plus or minus are clicked and consequently update the quantity input. jQuery might look difficult to many, but the beauty of this is that you don’t need to have a degree in jQuery – just copy/paste the code or install the lightweight plugin and see the magic happen.

Continue reading WooCommerce: Add to Cart Quantity Plus & Minus Buttons

WooCommerce: Display “New!” Badge on Recent Products

We already have a nice “Sale!” badge by default with WooCommerce – this shows on the Shop page once certain conditions are met.

Now, what if we wanted to show a “New!” badge for products published in the last 30 days? This would certainly grab the customer attention, and also communicate the fact your shop is constantly updating with new products and content (well, good for Google too, right?).

Well, here’s a simple snippet for you; simply copy/paste into your functions.php and magically a “New!” badge will show (note: CSS is not provided, you’ll need to adjust it based on your current theme and custom styles).

Continue reading WooCommerce: Display “New!” Badge on Recent Products

WooCommerce: Display Required Field Errors “Inline” @ Checkout

If you’re familiar with the upcoming Gutenberg editor, you’ll know there have been a million doubts in regard to accessibility. So, accessibility matters – and WooCommerce has a few issues as well.

One interesting accessibility fix is the error notification system on the checkout page. Yes, the missing fields error show on top of the page when trying to place an order, but once you scroll down to fill them out again you might need a reminder of which field is missing without having to scroll back up to check the error.

This is quite difficult to explain, so take a look at the screenshot. The suggestion here is to also add “inline” error notifications (“XYZ is a required field“) right above each field, so that the user knows exactly what to do. So, let’s see how it’s done.

Continue reading WooCommerce: Display Required Field Errors “Inline” @ Checkout

WooCommerce: Change Product Permalinks @ Shop / Loop Pages

A BloomerArmada fan asked me a very interesting question: how can I link each product in the shop page to its own custom landing page as opposed to the default permalink?

Of course this applies when you don’t want to use the default single product page for all or some products. Clearly, you could set up a 301 redirect from the single product page to the landing page – that will help for SEO as well. But if this is temporary, or you need to still give access to the single product page later on, then a redirect is no good.

So, here’s how you can override the default permalink.

Continue reading WooCommerce: Change Product Permalinks @ Shop / Loop Pages

WooCommerce: Move / Remove Coupon Form @ Cart & Checkout

Coupons: the good, the bad and the ugly. WooCommerce coupon codes are great to convert more sales – but sometimes they get users to pause / stop placing the order until they find a coupon code online (you did it too, I know).

One good workaround that the internet giants such as Amazon and eBay have implemented is to hide the coupon form until an email is entered, or alternatively to move the coupon code to the bottom of the Checkout page. This is a very smart move, and gets the user to concentrate on the Cart / Checkout details before entering or searching for a coupon.

So the question is – how to remove the coupon form in the Cart page and how to move the same to the bottom of the Checkout page? Well, as usual, a bit of PHP can help us. Here’s how it’s done!

Continue reading WooCommerce: Move / Remove Coupon Form @ Cart & Checkout

WooCommerce: Disable Tracking if Order Failed @ Thank You Page

The “woocommerce_thankyouhook fires on the Thank You page once an order is placed. Most tracking functions like Google Analytics, affiliate commission plugins and other WooCommerce extensions rely on “woocommerce_thankyou” to run their code.

Problem is – “woocommerce_thankyou” is ALSO called if an order fails (i.e. payment did not go through). Now, unless the plugin is smart enough in its own functions to exclude failed orders, which doesn’t happen often I’m afraid, we need to find a way NOT to run “woocommerce_thankyou” if an order fails. Case study: a client uses a third party affiliate plugin, this plugin hooks into “woocommerce_thankyou“, but they don’t want to calculate conversions when an order fails.

So here you go!

Continue reading WooCommerce: Disable Tracking if Order Failed @ Thank You Page

WooCommerce: Disable Theme’s WooCommerce Template Overrides

A client purchased a premium “WooCommerce-ready” WordPress theme. Unfortunately, this theme comes with a /woocommerce folder, which means theme developers completely override WooCommerce template files by copying them to the folder, and customizing each of them by hand to match their design and functionality needs.

As you know from my “How To Become an Advanced WooCommerce Developer?” article, however, themes should NOT come with a /woocommerce folder – instead they should use “hooks” (actions and filters) to amend default WooCommerce plugin layouts and behavior. This is a huge problem for best seller themes and their legacy coding – and also a reason most themes break when you update WooCommerce…

So the question I asked myself was: how can I disable the entire /woocommerce folder (i.e. ALL WooCommerce template overrides) in a given theme or a single template, so that I can use the default WooCommerce ones instead?

Continue reading WooCommerce: Disable Theme’s WooCommerce Template Overrides

WooCommerce: Cart and Checkout on the Same Page

This is your ultimate guide – complete with shortcodes, snippets and workarounds – to completely skip the Cart page and have both cart table and checkout form on the same (Checkout) page.

But first… why’d you want to do this? Well, if you sell high ticket products (i.e. on average, you sell no more than one product per order), if you want to save an additional step (two steps convert better than three: “Add to Cart” > “Cart Page” > “Checkout Page” – and this is not rocket science), if your custom workflow and ecommerce objectives require you to manage Cart and Checkout all together, well, this tutorial is for you.

There is a mix of shortcodes, settings and PHP snippets you can use to make this work out of the box. And trust me, this is easier than you think.

While many developers decide to turn the checkout process into a “Multi-Step Checkout” (ehm, not sure why – the more steps the more likely it is to have a cart abandonment), in here we’ll see the exact opposite.

So, how do they do it?

Here’s the complete, easy, step by step guide to put Cart & Checkout on the same page. Give it a go, do some WooCommerce testing and tracking, and see if it converts better ๐Ÿ™‚

Continue reading WooCommerce: Cart and Checkout on the Same Page

WooCommerce: Exclude Hidden Products from Mini-Cart Counter

When you add a hidden product to Cart, either manually or programmatically, this will be displayed in the Cart, Checkout and Order details pages (I’m not sure why a hidden product behaves like that… but thankfully you can hide hidden products from the Cart/Checkout/Order page with this snippet).

Problem is, even if you hide hidden products from the Cart page, the “Mini-Cart” product counter icon or text (it depends on your theme) will still count them as products (see the screenshot below). So the question is: in conjunction with the snippet aforementioned, how do I exclude hidden products from being counted in the “menu cart” (also called Mini-Cart Widget)? Continue reading WooCommerce: Exclude Hidden Products from Mini-Cart Counter

Storefront Theme: How To Remove Breadcrumbs

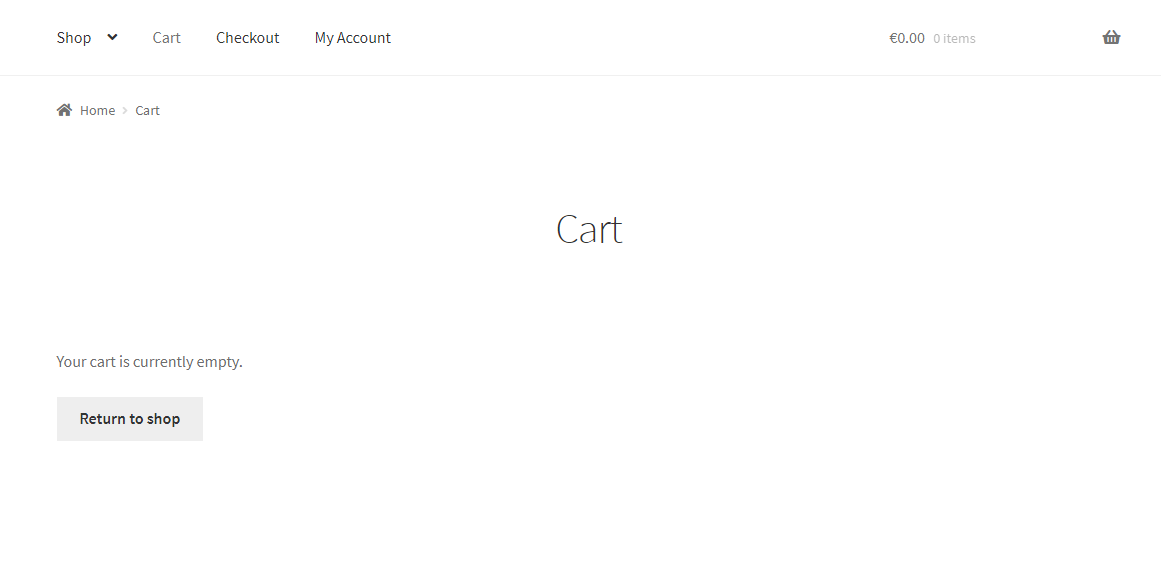
Storefront is the most compatible theme when it comes to building a WordPress eCommerce website. Following the best practices Storefront displays Breadcrumb navigation at the top of every product pages. But some store owners think they are better off without this extra navigation item.

In this tutorial, we will see how we can completely remove breadcrumb navigation from Storefront WooCommerce theme.

Continue reading Storefront Theme: How To Remove Breadcrumbs

WooCommerce + Storefront Theme: Hide Homepage Title

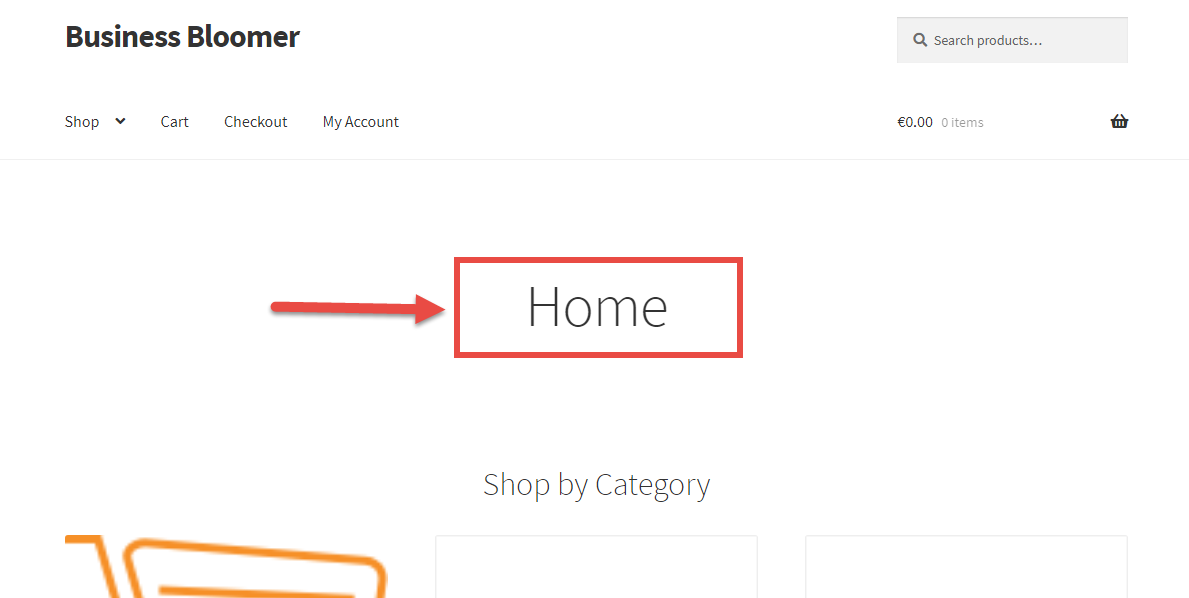
The Storefront theme displays the homepage H1 title by default, no matter if you use the “Default” or the “Homepage” page template.

Of course, you could do it via CSS, with a simple “display:none”. Even better, you could completely avoid loading the homepage title by using PHP (SEOs out there: better not to load an H1 than hiding it via CSS, right?).

So, how do they do it? Here’s the quick fix!

Continue reading WooCommerce + Storefront Theme: Hide Homepage Title

WooCommerce + Jetpack: Exclude Image From “Lazy Load”

If you don’t use an “Image Lazy Load” plugin, it’s time you install one. And if you happen to pick Jetpack’s free Lazy Load module, you probably did the right thing.

However, since I installed Jetpack Lazy Load, I noticed a little “jump” in my Storefront theme header section, where in fact there is an image – my Business Bloomer logo. The same might apply to any WooCommerce image: a category thumbnail, a single product featured image, a cart icon in the header, a homepage hero image, and so on.

Thankfully Jetpack has a useful “filter” you can tap into in order to exclude image classes from lazy loading (yes, I found this out today, it’s not that I know everything!). So, here’s the fix. Enjoy ๐Ÿ™‚

Continue reading WooCommerce + Jetpack: Exclude Image From “Lazy Load”

WooCommerce: Display “In Stock” Products First @ Shop

We’ve already seen how to add a custom “Product Sorting” option to the “Default Sorting” dropdown in the WooCommerce Shop page.

The task I was presented with, however, was to display items based on a custom “meta key”. Now, if you have no idea what a “meta key” is, don’t worry too much. For example, “_stock_status” is one of these keys, and therefore you can sort products by that key as opposed to product name, date, price, etc.

So, let’s see how to show all out of stock products as last in the shop, category and loop pages. As usual, simply copy/paste this little plugin in your functions.php and you’ll get the wanted result ๐Ÿ™‚

Continue reading WooCommerce: Display “In Stock” Products First @ Shop

WooCommerce: Add Checkout Fees Based on Custom Radio Button

This is a great WooCommerce snippet (or plugin, if you wish to call it like that) for those who want to provide conditional checkout fees. For example, you might need to display custom checkout radio buttons to pick premium packaging types, gift wrapping options, specific services or whatever can increase your AOV (Average Order Value).

Radio button selection must work with “Ajax” – which means as soon as the radio button is chosen, checkout must refresh in order to display the updated fees and totals.

Something similar (and also more complex, such as offering additional products) is achieved by the WooCommerce Checkout Add-Ons Plugin sold on the official WooCommerce.com marketplace. But in this case, we want to take a look at custom coding so you’ve got something to play with! Enjoy.

Continue reading WooCommerce: Add Checkout Fees Based on Custom Radio Button

WooCommerce: Display Global Short Description When Empty @ Single Product Page

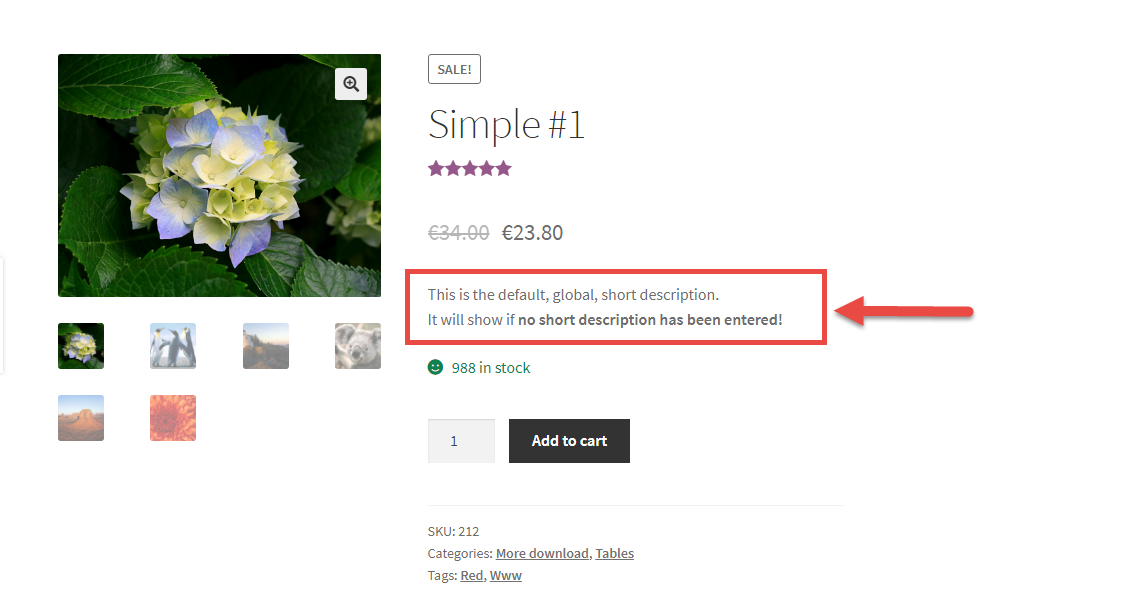
The WooCommerce product short description is that piece of content that appears on the right hand side of the featured image above the add to cart button. This is, of course, unless you forgot to enter the short description under Product > Edit Product > Short Description!

In case you forgot to enter it or you want to display a global short description, here’s a quick PHP snippet for you. Enjoy!

Continue reading WooCommerce: Display Global Short Description When Empty @ Single Product Page

WooCommerce: Add Column to Orders Table @ WP Dashboard

The WooCommerce Orders Table, which can be found under WP Dashboard > WooCommerce > Orders, provides us with 7 default columns: Order – Date – Status – Billing – Ship to – Total – Actions. This is used by shop managers to have an overview of all orders, before eventually clicking on a specific one.

So the question is: how can we display additional columns to that same orders table, so that we can immediately visualize an order custom field, a specific product contained in the order, or anything order-related that can be “calculated” once we have access to the $order variable? Continue reading WooCommerce: Add Column to Orders Table @ WP Dashboard